Tech Art • VFX • Unity

Robot Explosion

Overview and introduction

Overview

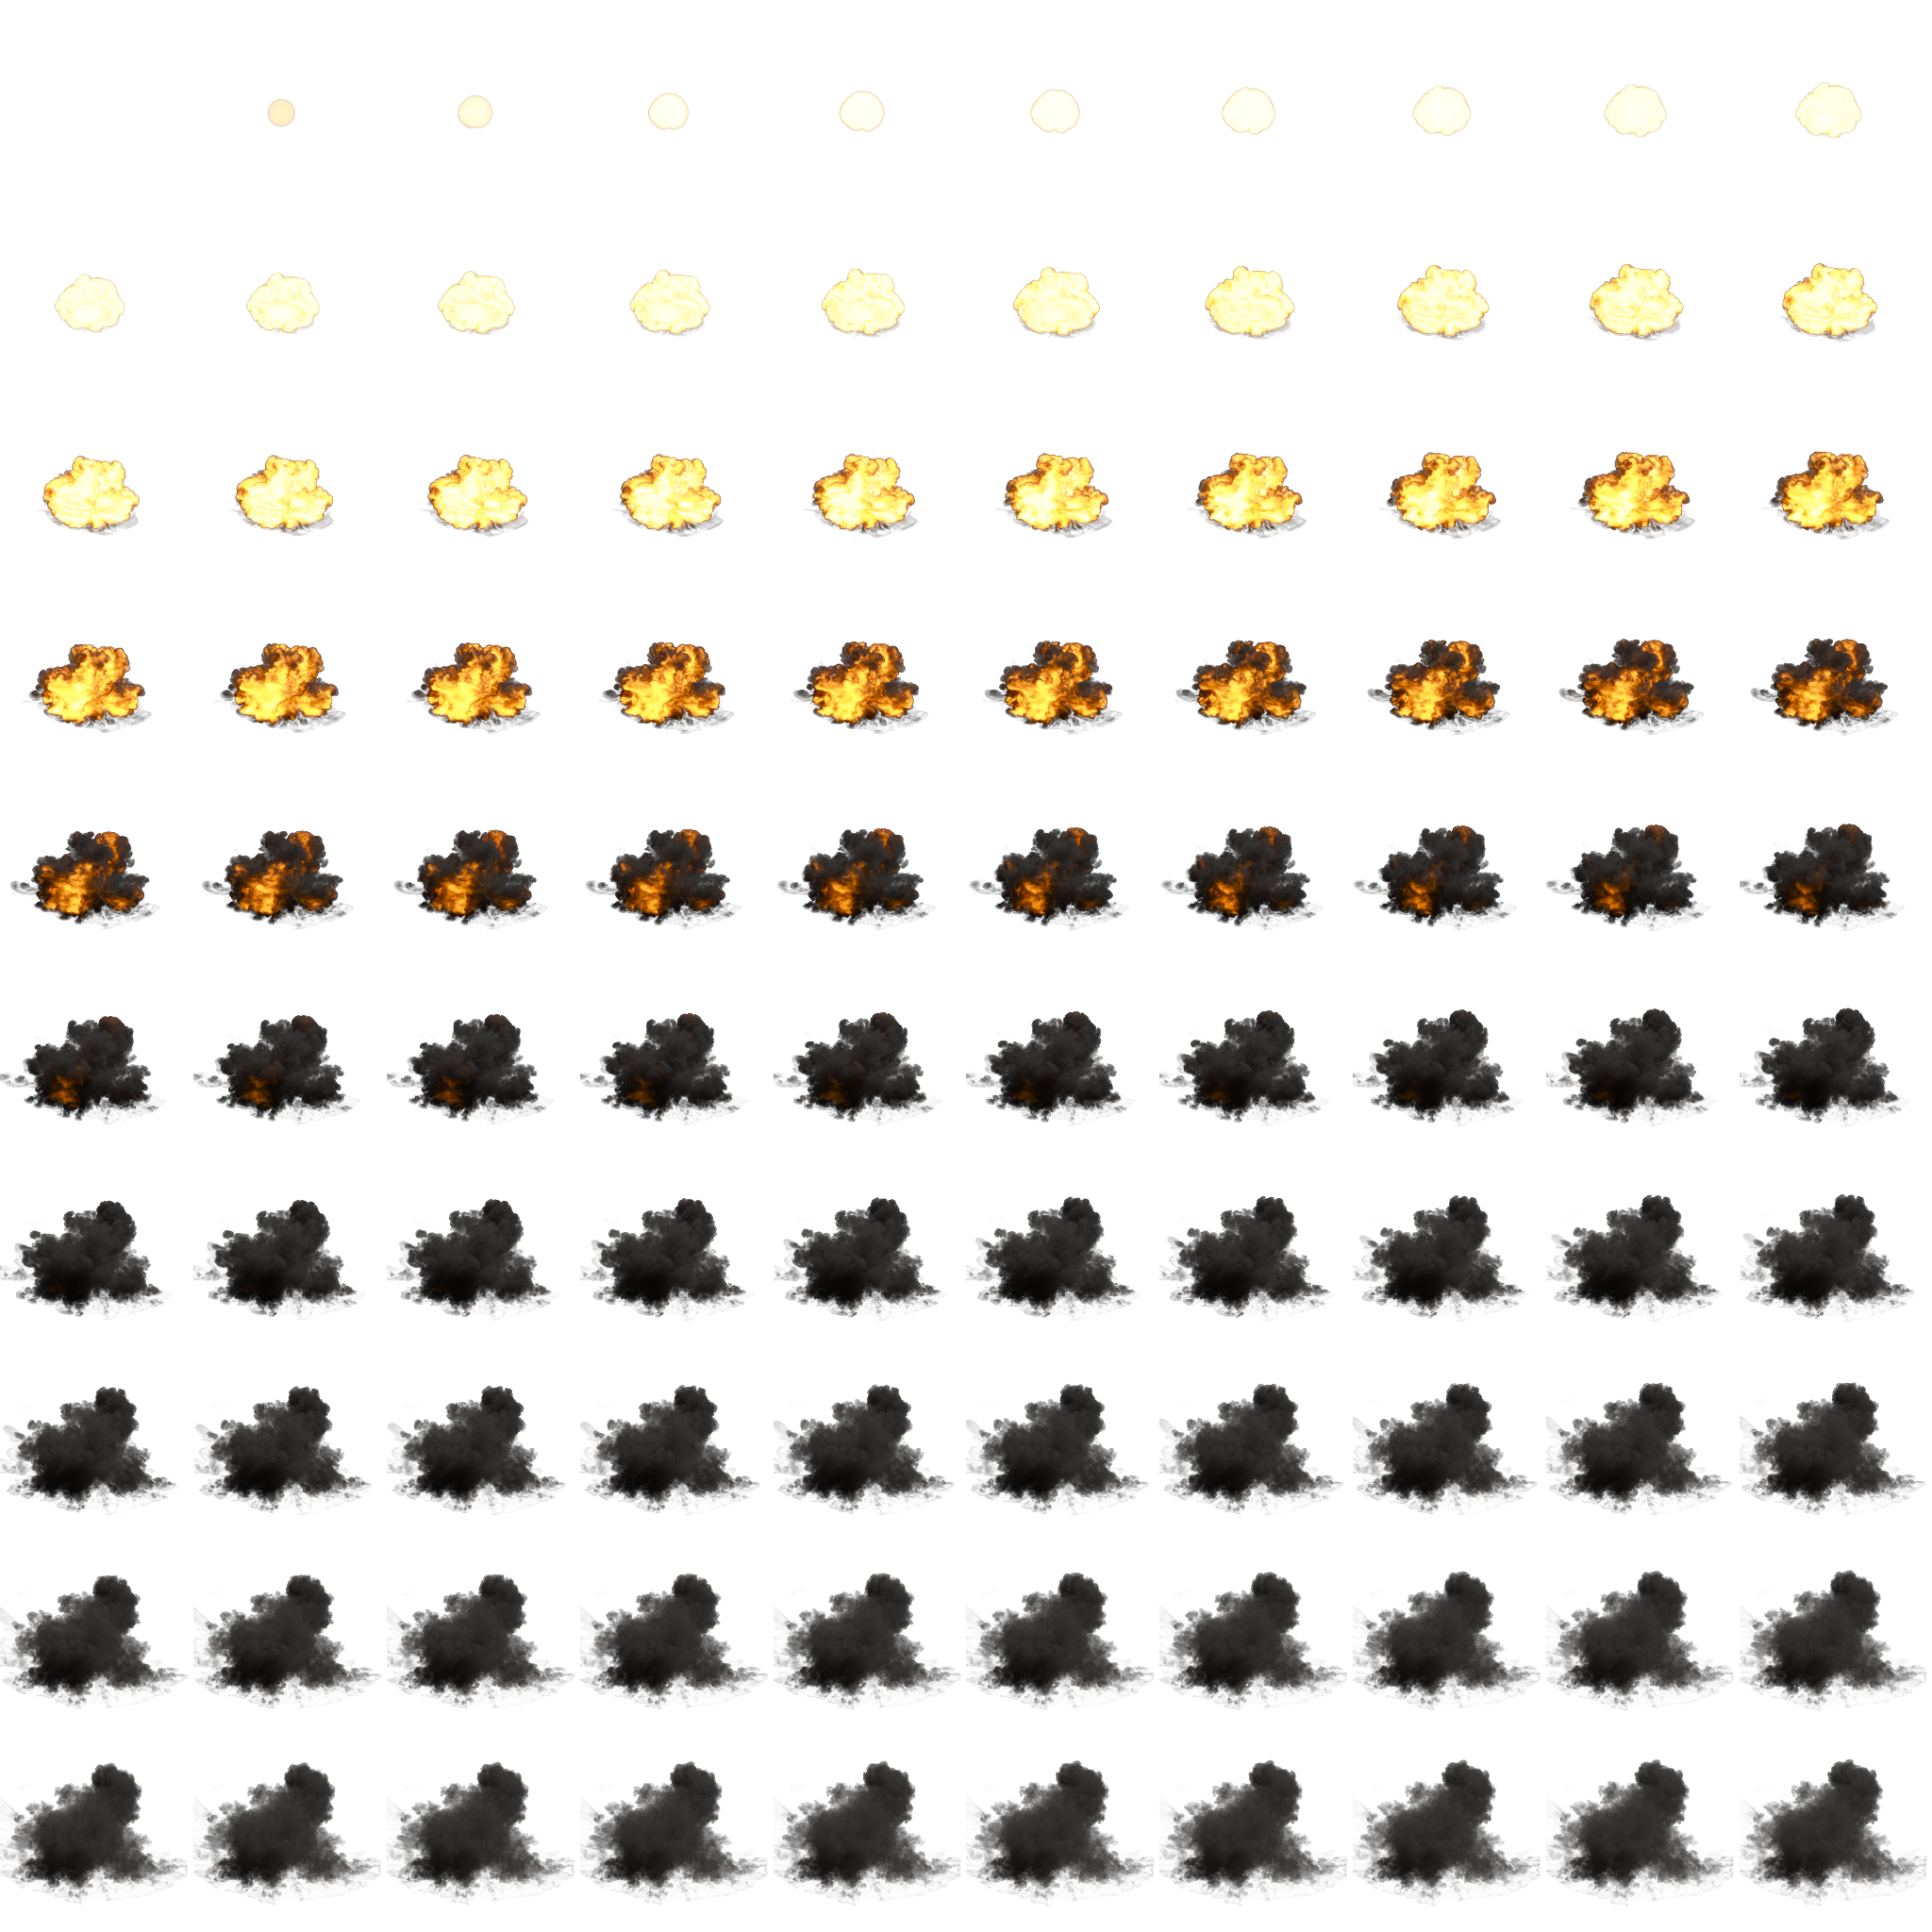
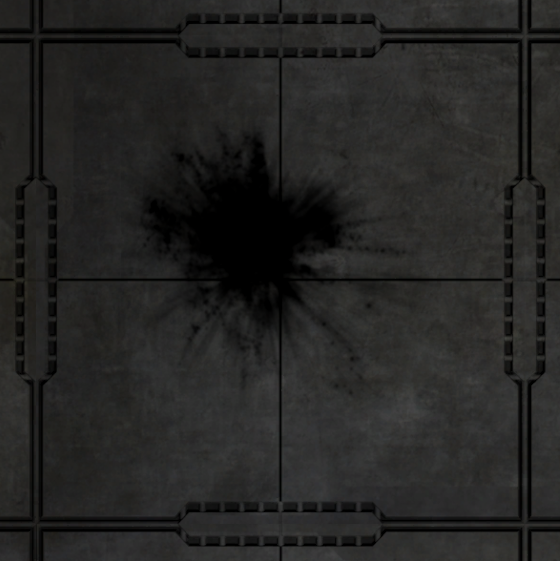
This project is a project where i created an explosion effect for a small rolling robot that is part of another portfolio piece. The effect was built in Unity using the Particle System with flipbooks created in EmberGen for the explosion and smoke. The goal was to make a explotion for my robot that feels satisfying to watch and reflect a exploding robot as good as possible.

Explosion components

The final effect is built from several layered particle elements working together.

  • Main Explosion: Flipbook created in EmberGen.
  • Smoke: Smoke flipbook also created in EmberGen.
  • Sparks / Embers: Small glowing particles using Unitys default particle system.
  • Big Sparks: Larger spark particles to add impact and variation.
  • Ground Glow: A glow effect placed on the ground to enhance the blast.
  • Background Glow: Extra light bloom behind the explosion to push the intensity.
  • Explosion Decal: A decal made in Photoshop.
  • Pebbles / Debris: Small debris pieces thrown outward from the explosion.
  • Shockwave: A shockwave texture created in Photoshop.
  • Scrap with Smoke Trail: Broken robot parts flying out with smoke trails attached.

Destruction setup

The explosion is not only a particle effect it also changes the robot model itself.

  • Mesh Swap: When the explosion happens, the original robot mesh is disabled.
  • Destroyed Version: A damaged version of the robot is spawned in its place.
  • Dissolve Shader: The destroyed mesh uses a dissolve shader to make it feel burnt and broken apart.
  • Smoke Trail: The destroyed robot keeps emitting smoke to show that it is still damaged after the blast.

Breakdown

A breakdown of the different particle elements and supporting effects used to build the explosion.

Main Explotion

I created a flipbook texture sheet in EmberGen and exported it into Unity. The texture sheet is 10x10 and is applied to a Unity particle material which is then used in a particle system. The particles are spawned in a sphere with a short lifetime and color fading over lifetime. The particles also use billboarded sprites to always face the camera.

Main Smoke

I use the same texture sheet as the main explosion but only the top half where the smoke exists. This is also spawned from a spher, but with a slightly longer lifetime. I added upward velocity and some drag to make the movement feel more like smoke.

Explotion and smoke flipbook

Here is a picture of the flipbook that i use for the explotion and smoke. It is made with EmberGen using the default explotion preset but adjusting values like color, fuel intenisty, voxel size to get the desired look i wanted.

Main Explosion breakdown image

Sparks and Embers

I use two different types of sparks one larger and faster type and one smaller and slower type that slows down over time and becomes falling embers. These particles use Unitys default particle system and I stretched them based on velocity to give them a more dynamic look.

Ground and background glow

I created two types of glows to enhance the brightness and intensity of the explosion. One is horizontally billboarded and the other uses normal billboarding. Together they create both a ground glow and a background glow behind the explosion.

Explotion decal

I created an impact decal in Photoshop to leave a permanent mark after the explosion. The decal is used as a particle with horizontal billboarding so it stays flat on the ground giving the illusion of a hole or impact mark on the surface.

Explosion impact decal

Debris and pebbles

To add some environmental destruction i added small debris particles to give the illusion of pieces flying out from the floor during the explosion. These use mesh particles,and unfortunately I did not have time to create my own mesh so i used a default cube.

Shockwave

I created a simple shockwave using a texture made in Photoshop. It is basically a wobbly grayscale circle that is horizontally billboarded and expands quickly when the explosion goes off. This was added to give more life and force to the explosion.

Scrap with smoke trail

I added scrap or destroyed robot parts flying out from the robot when it explodes. This is done using mesh particles. I attached a smoke trail to each particle using a smoke material and texture. I also added a dissolve material to the mesh with an orange glowing edge to give it more of an exploded feel.

Destroyed Robot and Desolve

The destroyed robot is a prefab that spawns in with a directional force when the explotion happens replacing the current mesh. This is done in a C# script. The robot has a custom desolve shader to create the feeling of it being destroyed it also has the original textures tinted gray and also has a simple noise texture in a darker gray to create a dirt effect. The dissolve effect works by sampling a noise on the alpha and with tha alpha theshlod controlling what pixels should be rendered based on the noise i use the same noise with a small offest to create a glowing edge in the edge of where the dissolve affects. In the video this is displade by a sine over time to easier visulaize the effect but on defaulkt it is set to a default value. It also has a particle system with a slow smoke rising effect.

Challenges

  • Since I was new to EmberGen there was a slow start while learning the basics and figuring out how to create an explosion that looked good and worked in engine.
  • One challenge was timing. A large part of making the effect feel convincing was getting the different particle elements to appear at the right moment so the explosion felt powerful and believable.

If I had more time

  • I would have liked to spend more time exploring six-point lighting. To make the smoke and explotion feel more volumetric .
  • I would also have wanted to continue refining the timing of the effect so that each layer of the explosion worked together even better.